
A practical photo editing guide
Add People To Photo: One Idea, Built Together
Add one person to your photo
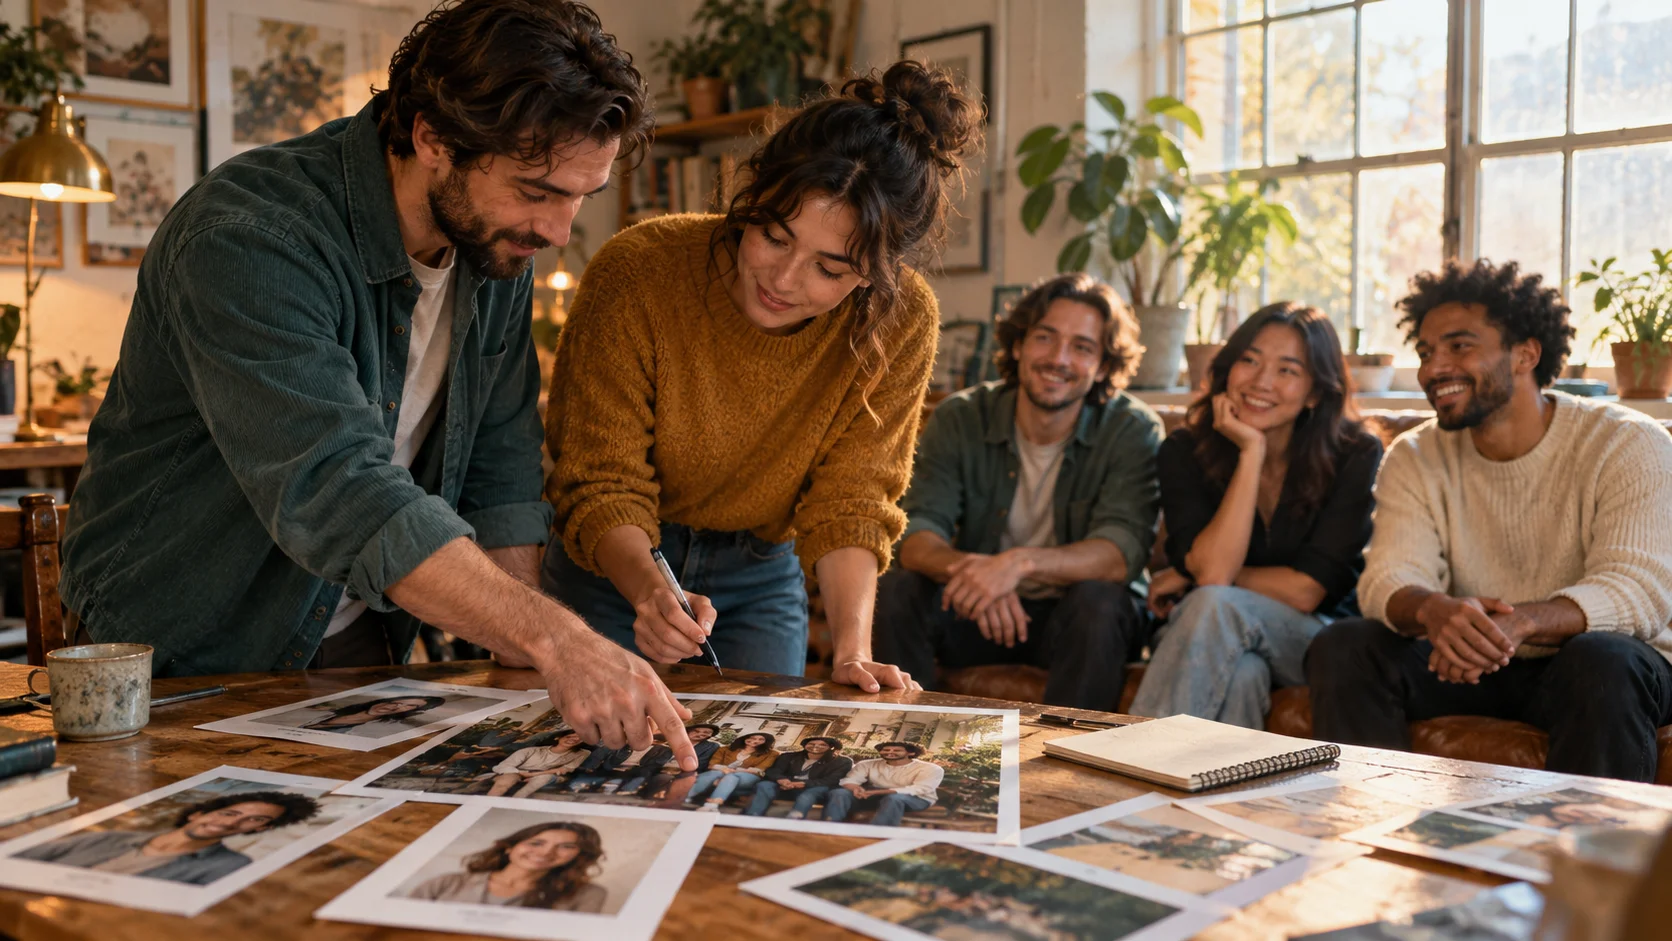
History
The answers before you start
What does Add People To Photo do?
It creates an edited composition from a base photograph and one separate person reference. Your description tells the model where the newcomer belongs and which parts of the existing scene should stay unchanged.
How do I start?
Choose Image to Image, add the group or scene photo to the first upload area, then add the individual portrait to the second. Describe the person's position, check the quote and select Generate.
Can I try it for free?
Check your account's available credits and the access conditions for the selected option. Eligible credits may cover a generation when shown. If they do not, review current Pricing before deciding whether to buy more.
Which photos should I upload?
Use exactly two images: one base scene and one portrait of a single adult. Choose a visible face and a useful head-and-shoulders view. Similar camera height and light direction make the composition easier to describe.
How much does an image cost?
Use the live credit amount beside the generation action. Available size and quality choices can affect that quote. The number displayed for your current selection is more useful than a fixed price quoted in a guide.
When will the result arrive?
Processing varies with the selected settings and the current queue. After submitting, use History to follow the job and open the completed image. Uploading either photograph does not start generation by itself.
Add a missing friend to a group photograph with two clear inputs: the scene you want to keep and a separate portrait of the person joining it. The Add People To Photo workspace on dotsai.pro lets you describe placement, lighting and scale before making a new image. Start in Image to Image, prepare both photos and read the current credit quote. The guide below explains how to make the addition feel like part of the same moment.
Add People To PhotoPrepare a scene and a separate portrait
Make the two references do different jobs
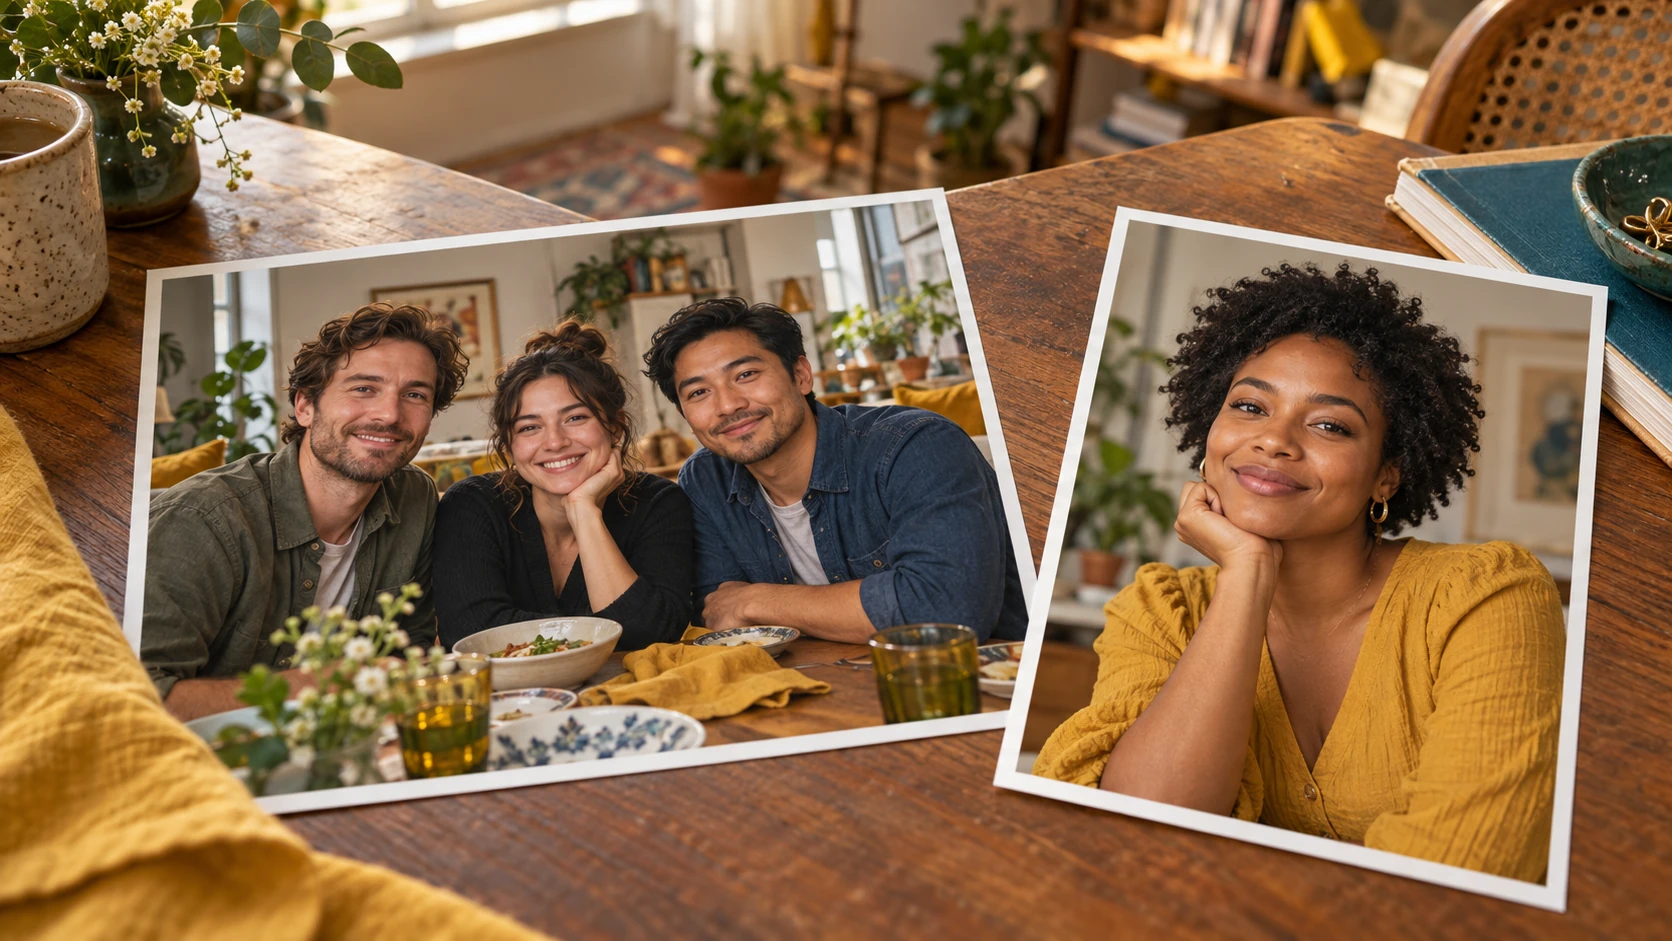
The base photo should explain the whole scene; the separate portrait should explain the newcomer. They do not need identical backgrounds. What helps is a similar view of the face and enough visible body information to place the person plausibly. If the group is photographed from a slightly raised camera, a very low-angle reference may require a larger change in perspective. Choose a less extreme portrait when you have one. Crop away distracting extra people in the individual reference while keeping the hair outline, chin and shoulders intact. Keep an untouched copy of the original group photo for comparison.
How to add one person to a photo
Choose the photograph that owns the scene
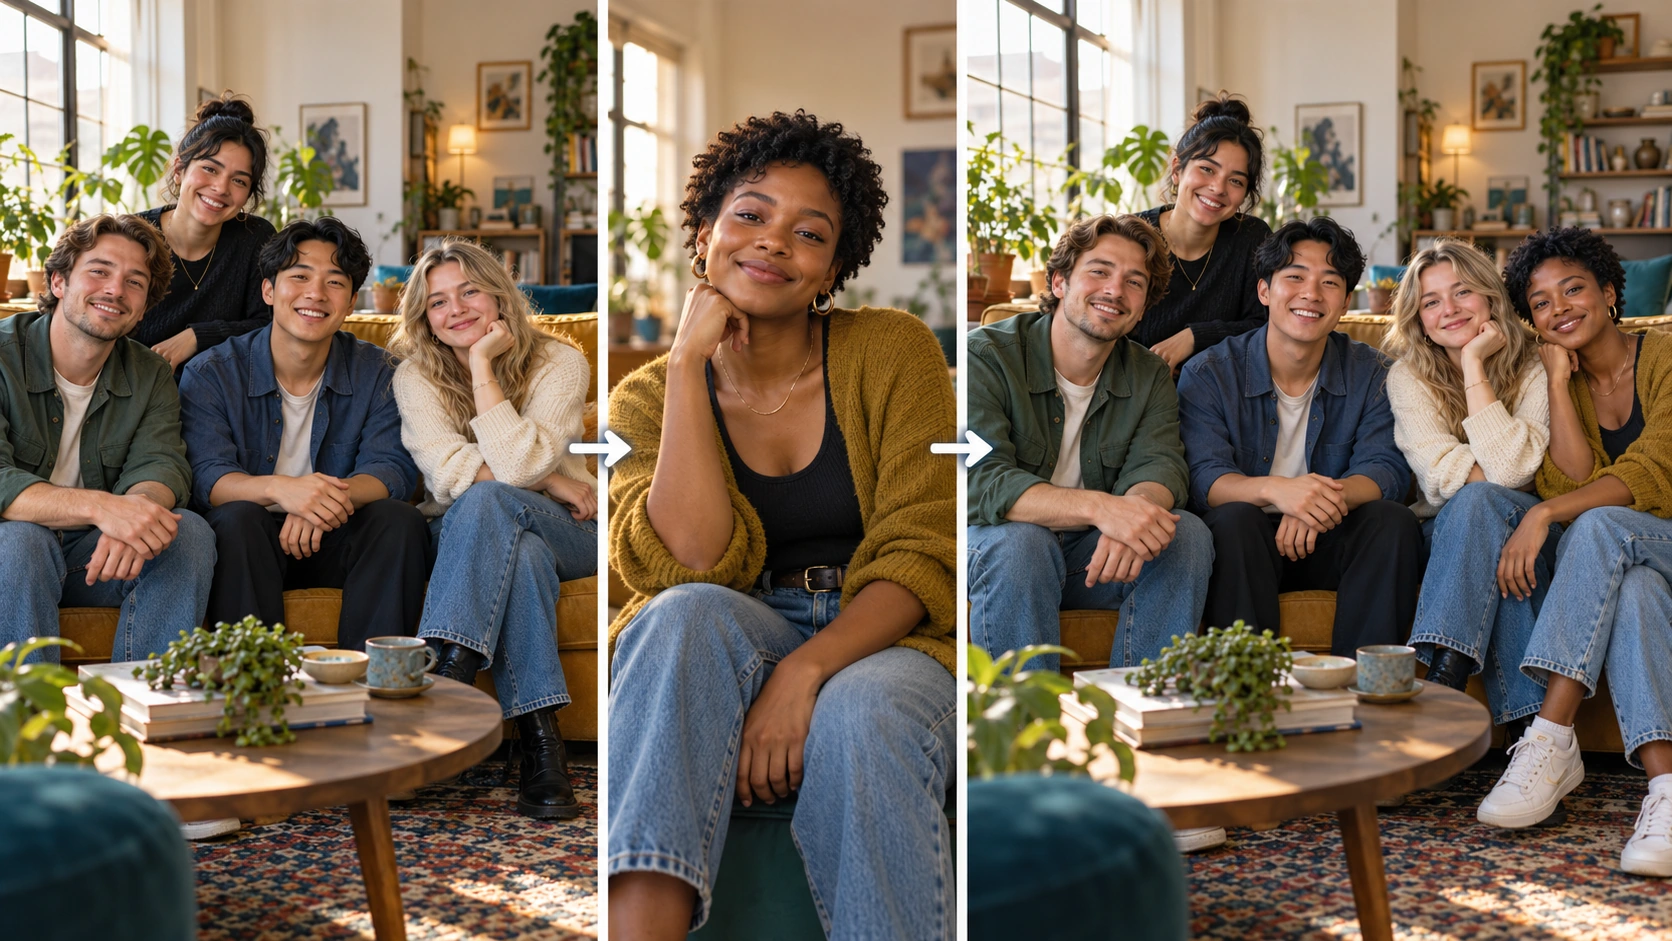
Put the group photograph in the first image area. It supplies the room, existing people, camera angle and composition. Leave enough space for the added person, either beside the group or in a natural gap. A tightly cropped face-only group shot gives the model less information about shoulders, depth and where someone could stand.
Add one separate person portrait
Use the second image area for the adult you want to include. A sharp portrait with visible eyes and an unobstructed face is easier to compare with the result. Avoid a reference containing several people, heavy filters or strong motion blur. Check both thumbnails before continuing so the scene and the person have not been swapped.
Write the placement and preservation instructions
Name a specific place, such as beside the person in the navy shirt, rather than asking to add someone somewhere. Mention the newcomer's approximate shoulder height, pose and light direction. Then state what should remain: the original people, table, background and camera angle. Keep the request focused on adding that one person.
Generate, inspect and change one detail
Read the current quote, then select Generate when both photos and the description are ready. Open the result from History and inspect faces, shoulders, hands and contact shadows at a useful scale. If something needs adjustment, change one instruction at a time. A new attempt has its own displayed quote; reviewing the existing result does not create another image.
Describe light and scale before adding style
A convincing addition depends on ordinary photographic relationships. Check where the brightest light falls on the existing faces, whether shadows are soft or hard, and how large nearby heads appear. Translate those observations into a short instruction: soft window light from the left, shoulder height matching the seated group, or standing one step behind the front row. Give the model a clear physical arrangement before adding a mood or artistic treatment. Strong new color grading, a different lens and an elaborate outfit change can compete with the placement request. Start with a straightforward composition and develop the style after the person fits the scene.
Check whether everyone shares the same moment
A friend who missed the gathering
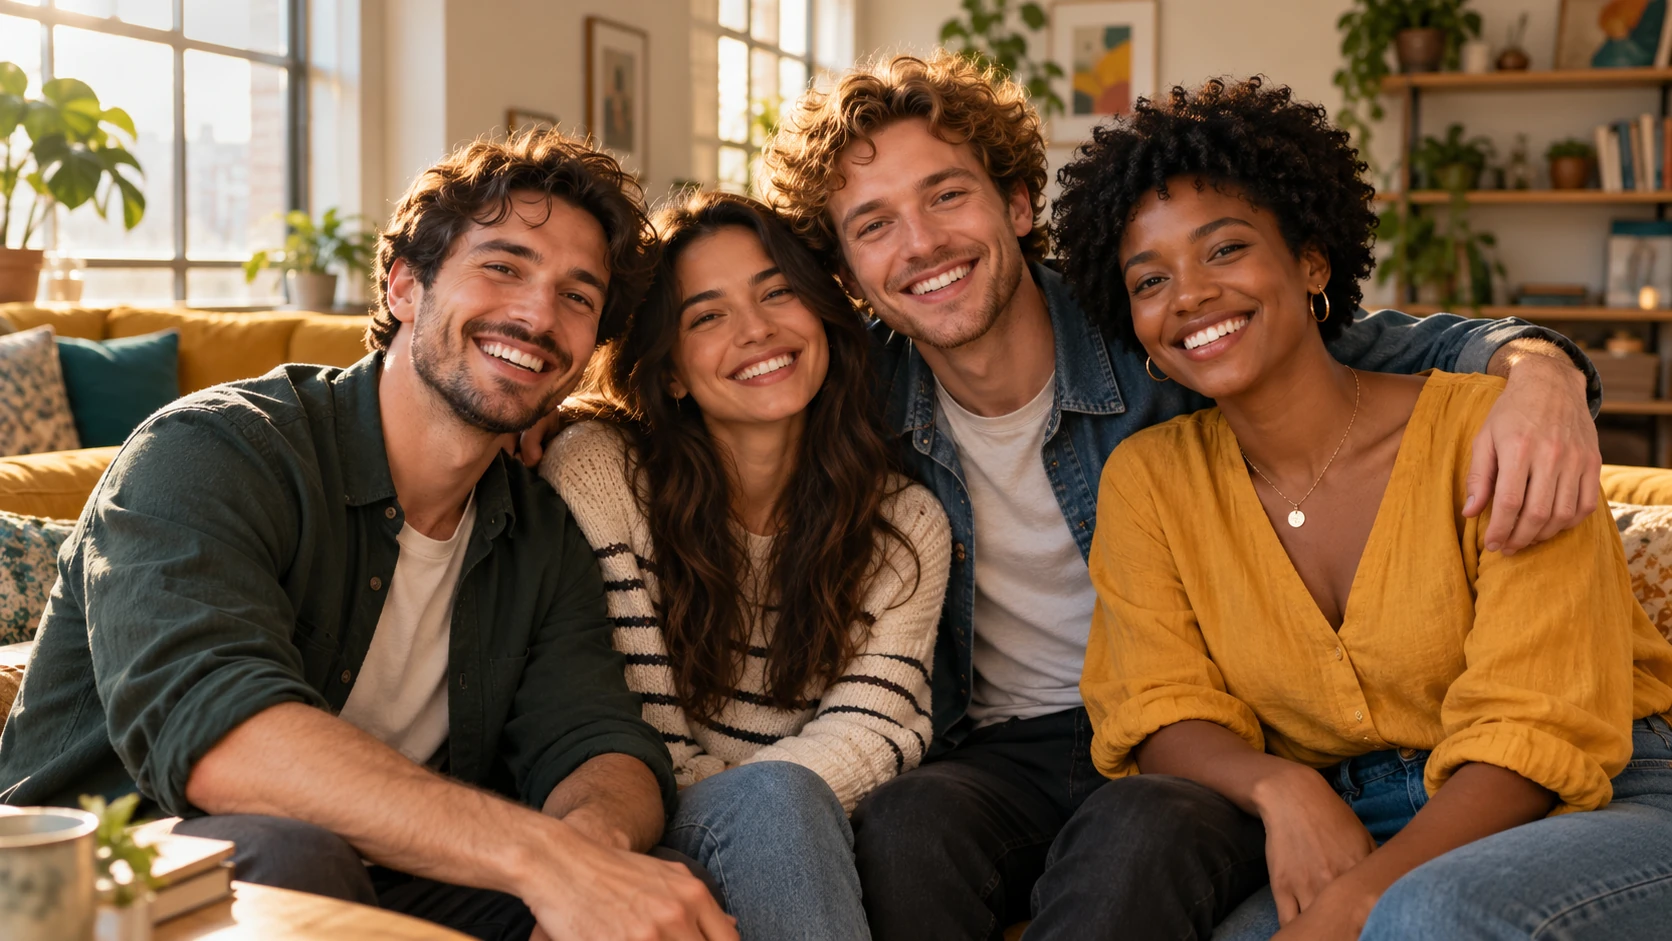
Choose a relaxed group photo with open space at one side. A similarly casual portrait suits the mood better than a formal studio headshot. Describe a natural seated or standing position and preserve the original friends' expressions.
A welcome image for a small team
Use one clean team photograph and one portrait of the new colleague. Match camera height and dress context, then inspect the result for consistent lighting. Keep important signage or name text out of the main editing area when possible.
A shared memory for a personal card
Plan the final card crop before generating so the newcomer will not be cut off later. Leave a little room around faces and shoulders. Add the card's message after reviewing the photo instead of combining several unrelated editing requests.
Review the group as well as the added face
Do not judge the edit only by the newcomer. Compare the original people, furniture and edges against the base image. Look for an altered expression, a missing hand, repeated clothing details or a background object that has moved. Then check whether the added person occupies believable space: feet or seating should make sense, shoulders should not merge, and shadows should agree with the room. A good next prompt identifies the specific issue instead of asking to fix everything. You might request a smaller head size or more separation from the person beside them while repeating the instruction to preserve the existing group.
The wrong person was changed
Recheck the input order and identify the separate portrait as the person being added. State which original people must remain. Replace an ambiguous multi-person reference with a portrait containing only the intended adult.
The addition looks too large or too bright
Compare the nearest existing head and shoulder line. Give one concrete scale correction and describe the room's light source. Avoid broad commands such as make it realistic when the problem is a specific size or shadow mismatch.
The background changed more than expected
Remove competing requests for new scenery or dramatic camera effects. Repeat the parts of the original setting that matter most. Keep the same two input files for the next comparison so you can judge the effect of your revised wording.
Add People To Photo FAQ
Can I add several separate portraits at once?
This page uses two reference images: one base photograph and one individual portrait. Plan one added person per composition. Do not prepare a request that depends on extra independent portrait slots, because those are not part of this page's two-image workflow.
Does the added portrait need the same background?
No. A simple individual portrait can work with a different room or outdoor background. A similar face angle, camera height and lighting direction are more useful than matching the wall behind the person. The base photo remains the scene reference.
Can I begin without uploading a photo?
Text to Image creates a new scene from a description and does not use the two uploaded references. Choose that mode when you want to invent a group picture. Return to Image to Image when your aim is to work from the actual base scene and person portrait.
Will the original photograph stay exactly the same?
The result is a newly generated composition, so review the existing people and background as carefully as the addition. A focused preservation instruction helps communicate what matters. Keep the original file and compare it before using the edited image in a finished project.
Where do I find a completed image?
Open History after submitting and select the relevant job. Check its status and inspect the finished composition before downloading it. If a task reports a problem, follow the status shown there rather than repeatedly submitting identical requests while the first job is still processing.
Build the next part of your image
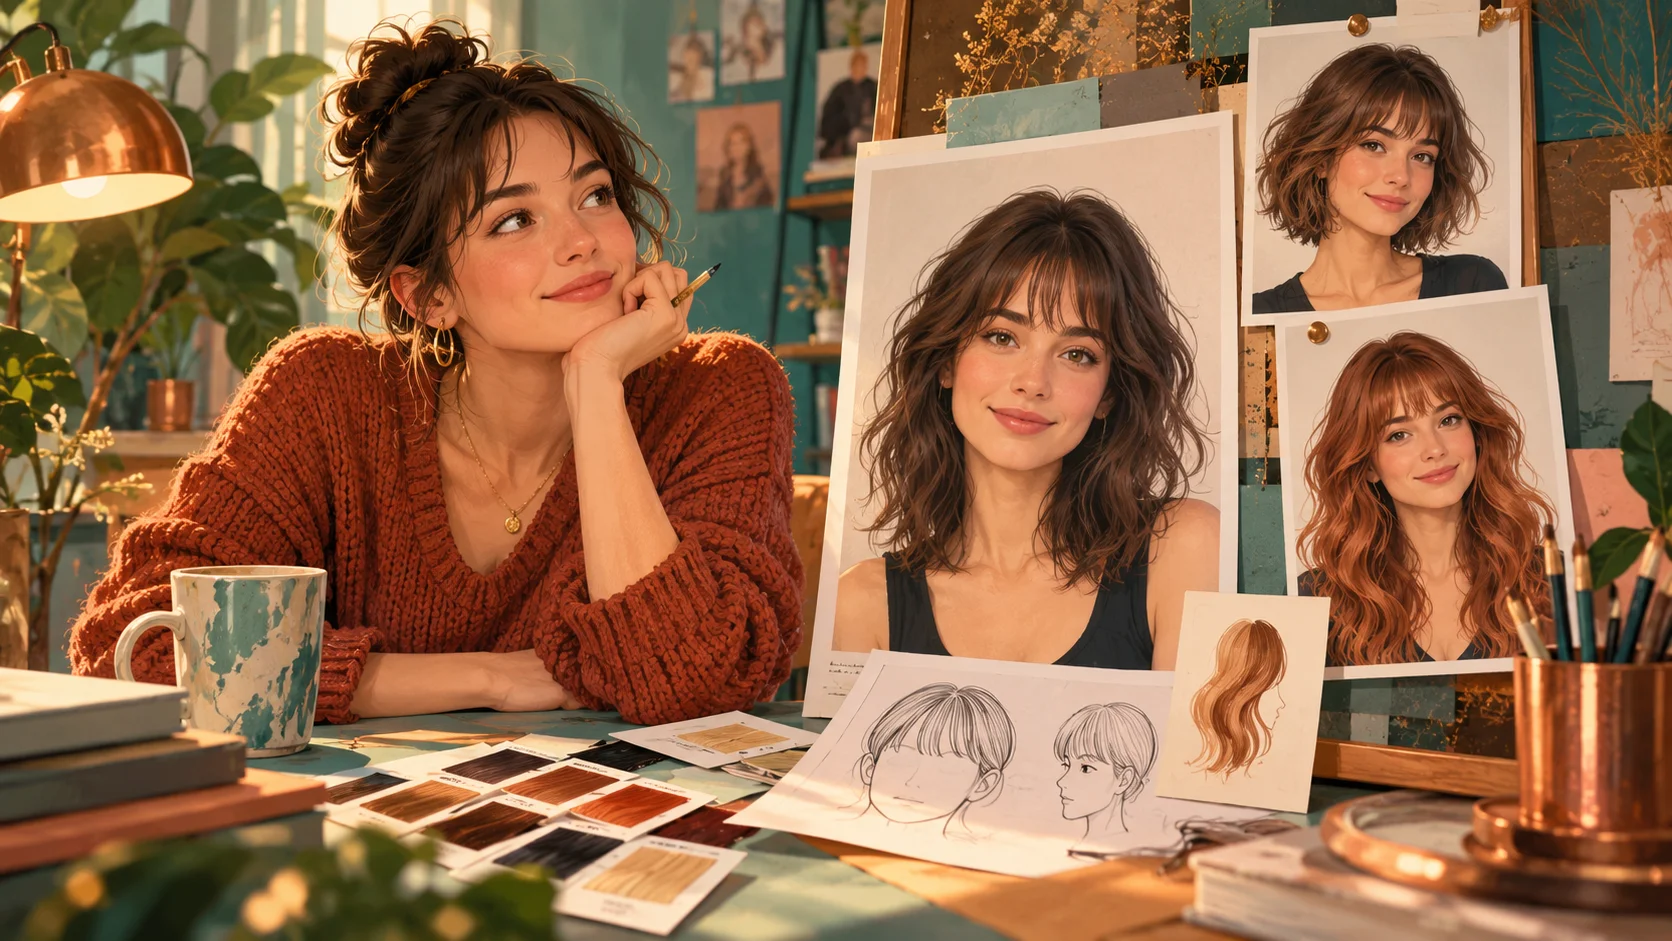
Plan a hairstyle before the portrait
Compare hair length and shape when preparing a new portrait for your composition.
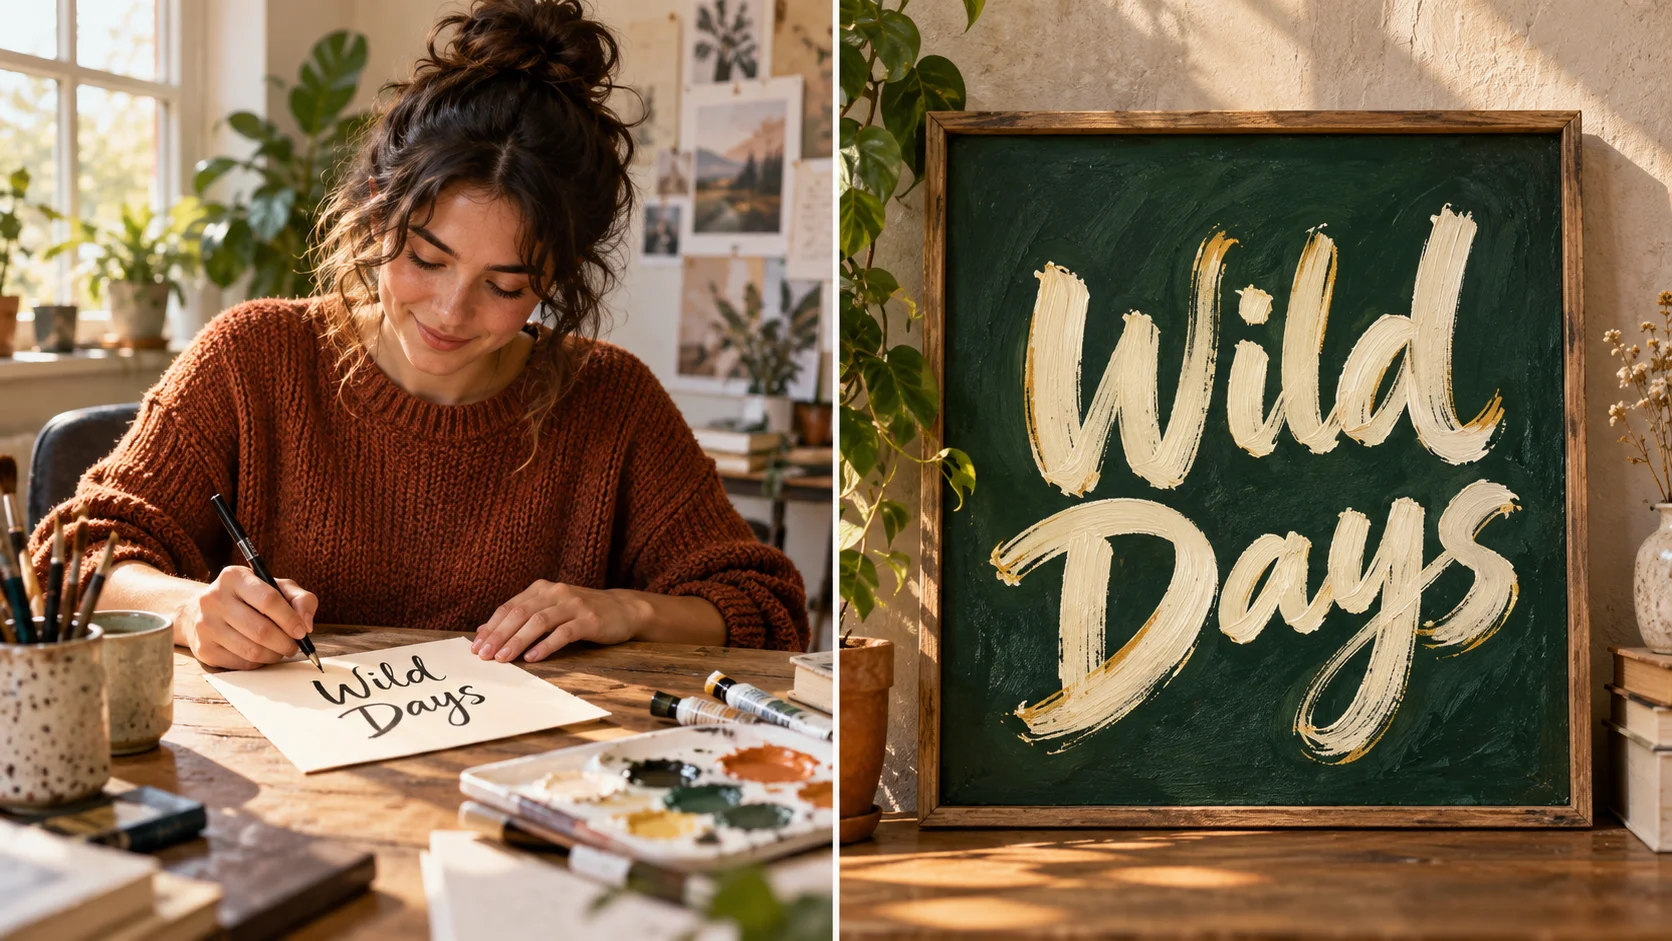
Create lettering for the finished card
Develop a headline image after you choose the group photo you want to keep.
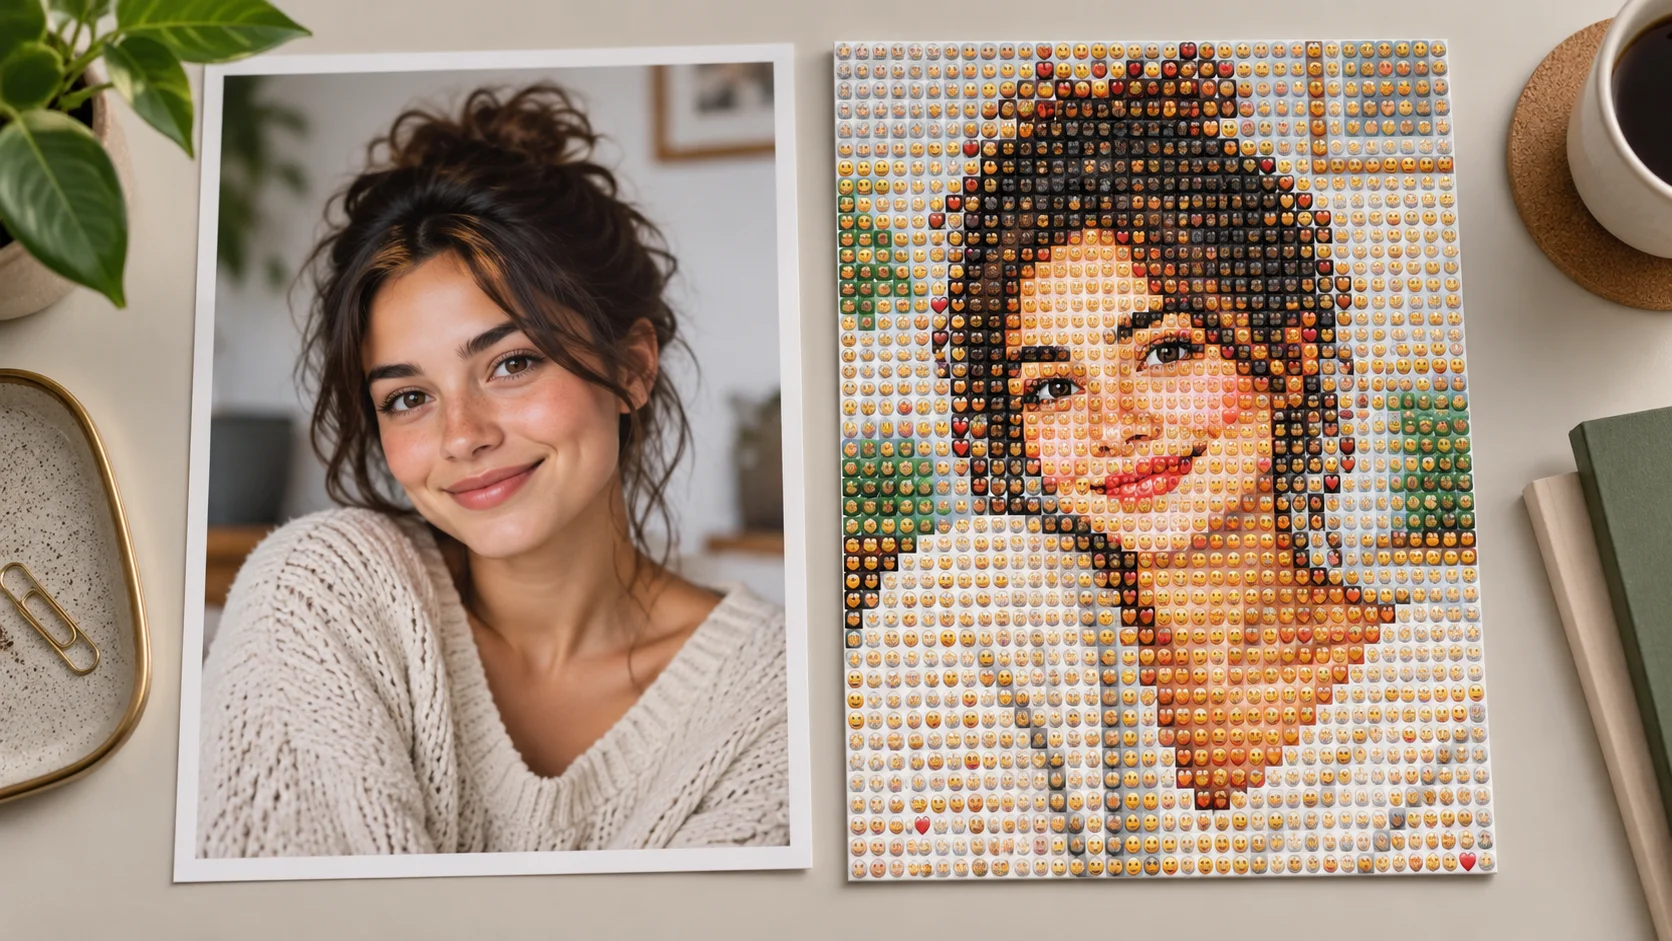
Try an emoji interpretation
Explore a playful visual direction for a separate social image from the same idea.
Prepare your inputs and make one clear request
Choose your references, describe the change and review the quote before generating. Keep the original files nearby when you compare the completed image.
Add People To Photodotsai.pro · Updated
What's new on this page
- — Added editable example prompts and separate drafts for text and reference modes, with an action to restore the example.
- — Page content published. Updated page copy and content. Updated page images or videos. Updated page generator or navigation settings.